
Double to singles: mini wood window conversion tutorial.
If you have double windows, but really need single windows for your dollhouse, you can convert them with just a pot of boiling water and some wood glue. Read on to find out how.

First you start with a basic unfinished wooden double window, like the ones I sell in my Etsy shop. You can use either working or non-working windows. This tutorial covers non-working windows, but the steps to convert working windows are very similar.
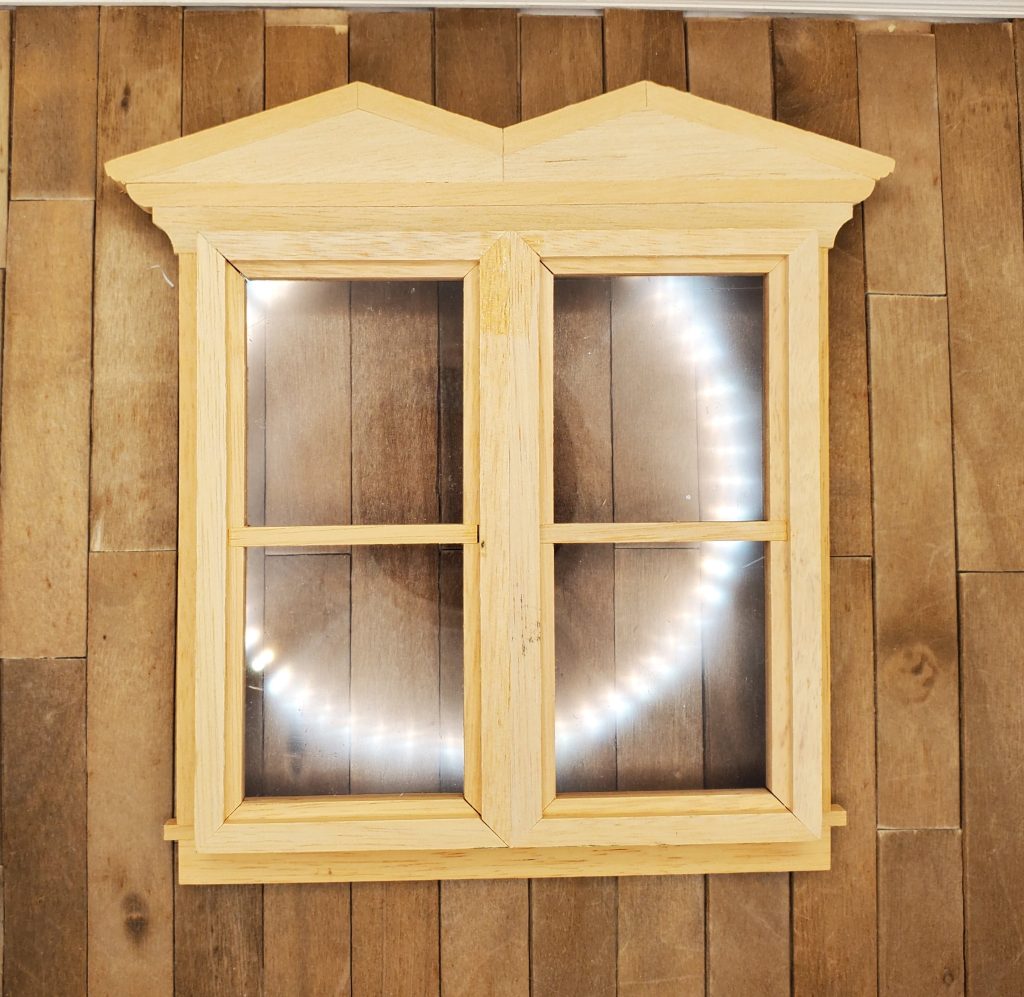
Looking at the back of this double window, you can see that it is really made of two single windows side by side. This is lucky for us! It makes creating two separate windows possible with minimal effort.
On to the tutorial!
Step 1: Get a pot of water boiling on the stove. You only need to bring it to a simmer, not a rapid boil. Use a pot large enough to completely submerge your double window.
Step 2: Slide the plastic windowpane inserts out of the windows and set them aside (they slide up and out the top slot of each window). Please don’t put these in the hot water. They will warp and possibly melt. Examine the window closely, so you will know how to reassemble the pieces. I suggest you take some pictures beforehand. It looks simple, but when all the pieces come apart, it’s not so easy to remember.
Step 3: Using tongs (not your hands) submerge the whole window (minus the panes) in the hot water and simmer for a few minutes. Watch the window the whole time. You want to remove it when the glue joints start looking white-ish. This means the glue is softening. Using tongs, pull the window out of the water and gently tug at the edges (wear dishwashing gloves to protect your hands from the heat). If it starts to fall apart, you are ready to start disassembling it. If not, put it back in the water for a bit. As you pull off pieces, you can keep some out, and put others back in the water to continue softening the glue. Don’t pull too soon, or you may split the wood. Also, try not to keep the wood in the hot water longer than necessary. In my experience the pieces won’t warp at all, if your window is made of good hardwood, but better safe than sorry.
Step 4: Allow all pieces to completely dry on a clean towel.

If you are lucky with timing, your window pieces will still be partially assembled when you remove them (like the one pictured on the left above). Then you won’t have to work so hard to reassemble them (like the one on the right which came completely apart).
Step 5: Reassemble the window parts with wood glue, to have two windows instead of one. You want to use only the pieces pictured above. When dry, slide the windowpane back in the top slot. You may also want to stain or paint your windows before doing this.
You will be left with many pediment, sill and trim pieces, as well as interior trim and mullion pieces that came with the window. With a few miter cuts of the exterior trim pieces (there should be 3 vertical outer pieces, and 5 interior pieces), you will have enough trim to frame both windows on the outside, with pieces to spare. You may also find some creative things to do with the leftover pediment, sill and trim (think shelf, mantelpiece and picture frame for starters).
I hope you have enjoyed this tutorial and find it useful.
Have a happy mini-making day!
-Margie